- Download the Patriot VPN Macintosh client HERE.
Alternatively you can get the client in the downloads area by going to the 'downloads' section:
Click on the link and your file will download to your computer:
- Locate your download (usually stored in the Downloads folder on your computer):

- Ctrl-click or double-click on the file to unpack and mount the installer image:

- Click 'Open' on the security message:

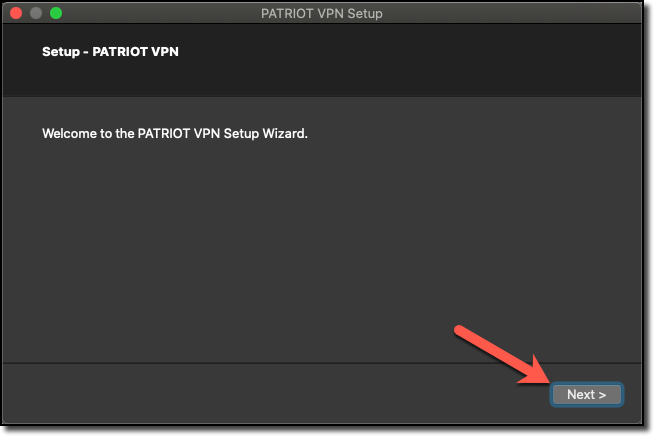
- Click "Next":
- Click 'Install':

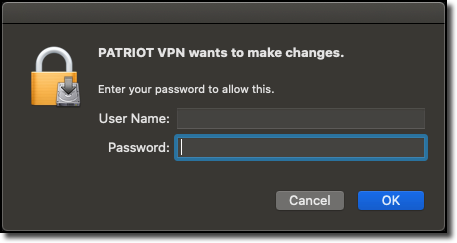
- Your computer needs authorization to install, enter in your username and password for your computer and click 'OK' (if you don't know your username and password, talk to your administrator or IT group):
- The Patriot VPN application will start to install:

- Once finished you will have a Patriot VPN icon in your Launchpad and your Applications folder:


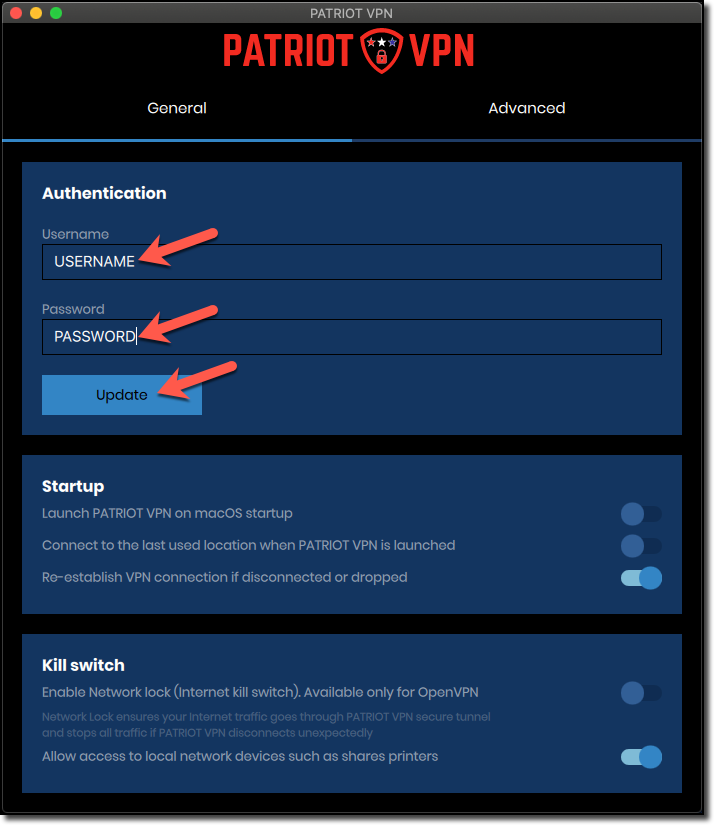
- Launch the application, click on 'Settings' to configure the VPN:

- On the Settings page, put in your Patriot VPN username, password, and click 'Update':
- After clicking on 'Update' you will see a confirmation that your settings were 'Updated':

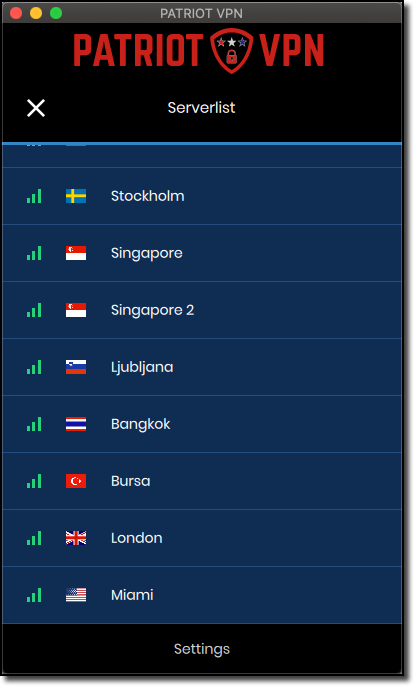
- Exit out of the configuration screen and on the main screen click on 'Server location' to choose which server you want to connect to:

- Scroll through the list of servers and select the one you wish to use:
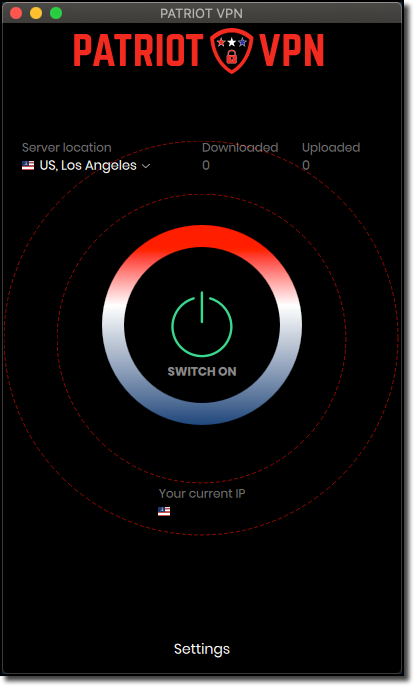
- After selecting your server you will be returned to the main screen with your server selected:

- Click on the 'power button' to get connected, once it turns green you are connected:

- In order to disconnect, click on the 'power button' and you will be disconnected:
Most Popular Articles
Patriot VPN Android Client Install
On your mobile device go to the Google Play Store, or click HERE from your mobile device: In...
Patriot VPN Windows Client Install
Download the Patriot VPN Windows client HERE.Alternatively you can get the client in the...
Patriot VPN iOS Client Install
On your mobile device go to the Apple App Store, or click HERE from your mobile device: In the...
Patriot VPN TV Install
Our VPN client is supported on Android televisions and Amazon Firesticks. Android As of 2022,...
Powered by WHMCompleteSolution

